Funky Flip-Flop Father's Day Card Video Tutorial
Hi there!
To provide some more inspiration for Father's Day on June 18th, I'm back with another card, this time with a funkier feel. You can check out the video below and then read on for more.
This design is really cute and could easily be adapted for children or teenagers, as well as anybody who's a bit of a cheeky monkey!

--- Supplies Used ---
# Paper guillotine
# Scoring board and bone folder
# 300 gsm super smooth white card
# Trendy Blue Lifestyle 12x12" paper pad from The Works
# Sara Signature Collection Just for Men 6x6" paper pad from Crafter's Companion
# Stamp set free with Papercraft Essential 145
# Lindsay Mason Designs Skinny Alphabet Stamp Set
# Memento Tuxedo Black ink pad and marker
# Memento Cottage Ivy ink pad
# Ranger Archival ink pad in Jet Black
# Acrylic blocks
# Stitched circle dies from The Works
# Manual die cutting machine (I use the Xcut Xpress)
# Scissors
# Foam pads
# Tape runner
# Glue pen
# Kraft card
# T-ruler
# Pencil
# Spectrum Noir alcohol markers in TN2, TN3 and TN4 (these are from the Pale Hues and Lights sets)
# 1-2-3 Punch Board from We R Memory Keepers

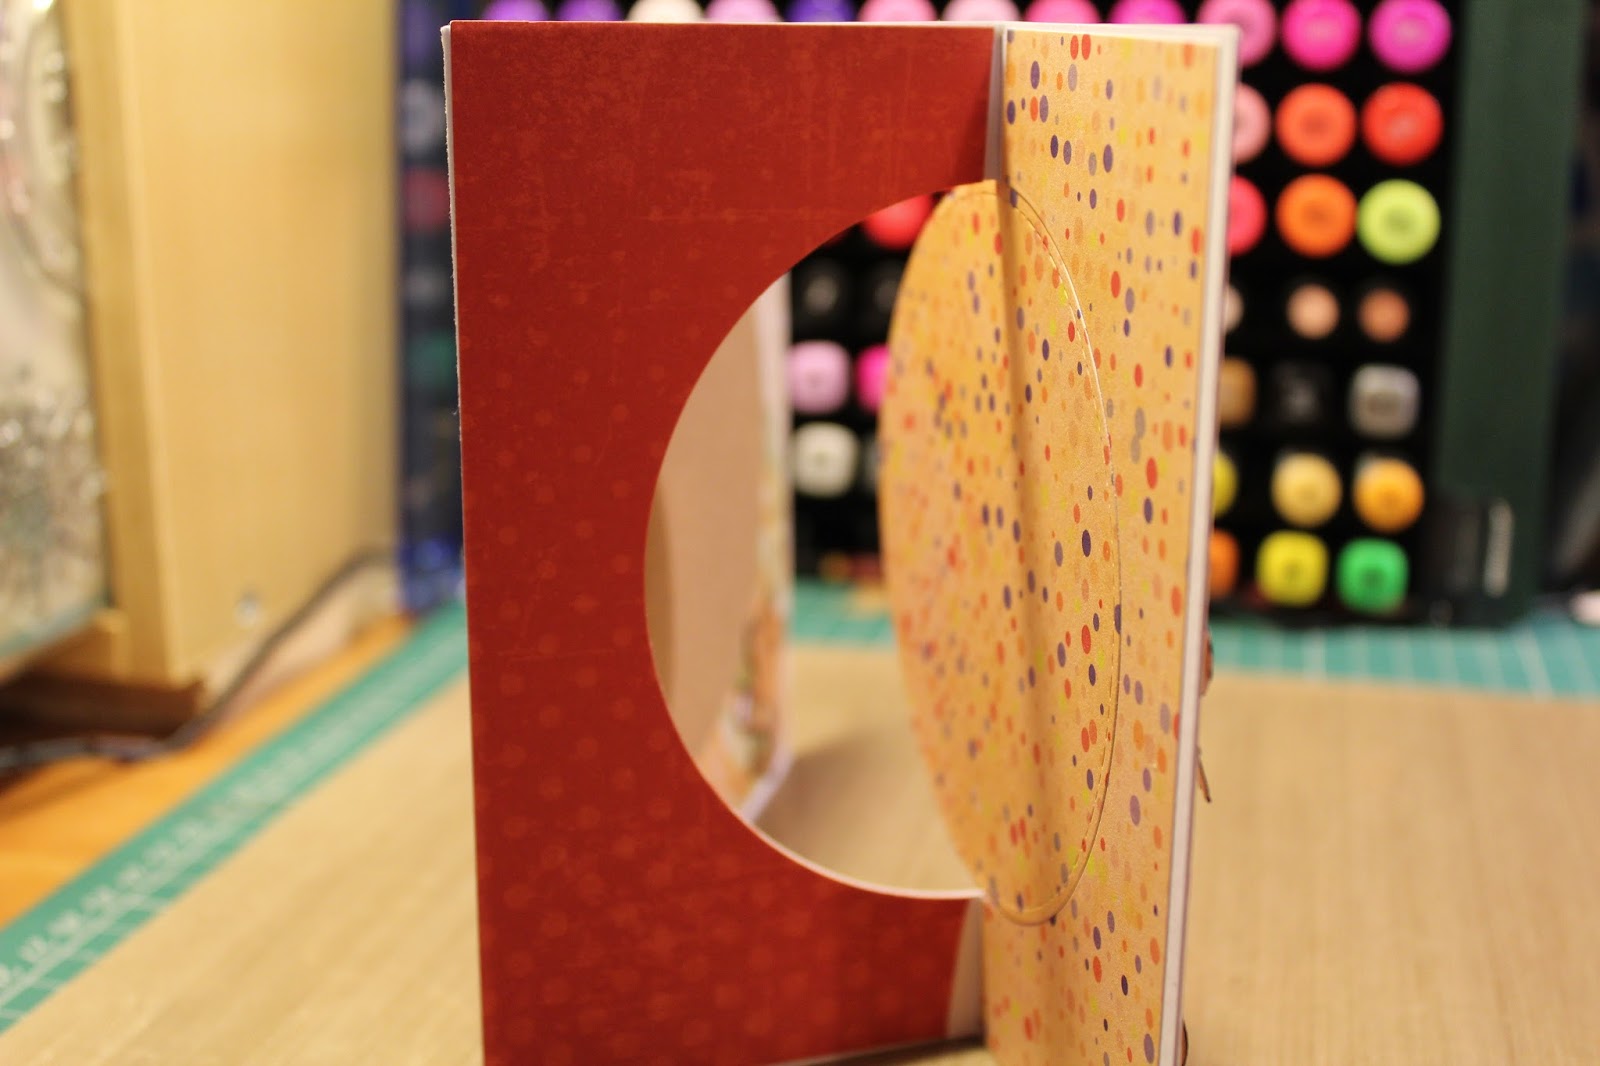
I made a 5" 3/4 square card base from 300 gsm white card, then marked a line half way across the front of the card. I partially die-cut a stitched circle up to this line and scored along the line to make a flip-flop card. Take a look at the video to see how this was done. I then cut some patterned papers to the correct size, lined up the circle and die cut the yellow and red papers. They were then aligned, cut and stuck to the card front in the manner seen in the video.

For the back of the card front, I stuck the excess patterned paper. This means when the card is standing on display, it doesn't look boring and unfinished when viewed from the side. Finishing touches like this really elevate a handmade card.

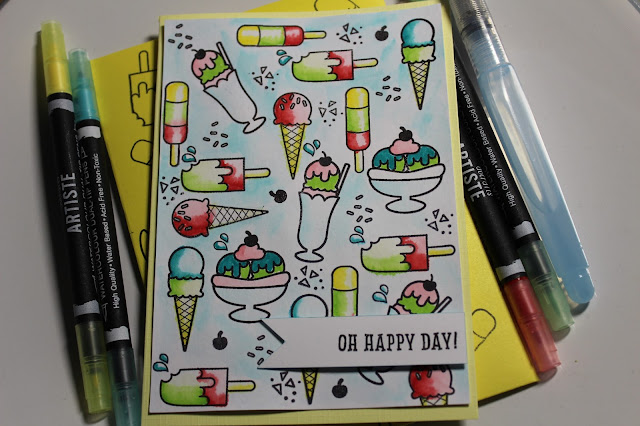
I stamped the monkey design multiple times with Memento ink, coloured it in with Spectrum Noir alcohol markers and fussy cut the designs. I adhered three monkeys with foam pads to the front of the card, to look like they're hanging from each other and having a whale of a time! Aligning them at different angles adds interest and gives each of them their own personality. I stuck the other two monkeys flat inside the card then adhered the kraft circle.

For the envelope, I made a box envelope to protect those dimensional monkeys. I cut a patterned piece of card to 9" 3/8 square then used the 1-2-3 punch board to make a box envelope. I cut another circle from kraft card, to complement the inside of the card, then wrapped the envelope in natural string.
I really loved the look of this card; very different from the last post, and very funky! I hope the recipient has a smile on his face when he opens it. I'll be back very soon with another Father's Day themed video tutorial.
Thanks for reading all the way to the end!
Until next time,
Amy x
To provide some more inspiration for Father's Day on June 18th, I'm back with another card, this time with a funkier feel. You can check out the video below and then read on for more.
This design is really cute and could easily be adapted for children or teenagers, as well as anybody who's a bit of a cheeky monkey!

--- Supplies Used ---
# Paper guillotine
# Scoring board and bone folder
# 300 gsm super smooth white card
# Trendy Blue Lifestyle 12x12" paper pad from The Works
# Sara Signature Collection Just for Men 6x6" paper pad from Crafter's Companion
# Stamp set free with Papercraft Essential 145
# Lindsay Mason Designs Skinny Alphabet Stamp Set
# Memento Tuxedo Black ink pad and marker
# Memento Cottage Ivy ink pad
# Ranger Archival ink pad in Jet Black
# Acrylic blocks
# Stitched circle dies from The Works
# Manual die cutting machine (I use the Xcut Xpress)
# Scissors
# Foam pads
# Tape runner
# Glue pen
# Kraft card
# T-ruler
# Pencil
# Spectrum Noir alcohol markers in TN2, TN3 and TN4 (these are from the Pale Hues and Lights sets)
# 1-2-3 Punch Board from We R Memory Keepers

I made a 5" 3/4 square card base from 300 gsm white card, then marked a line half way across the front of the card. I partially die-cut a stitched circle up to this line and scored along the line to make a flip-flop card. Take a look at the video to see how this was done. I then cut some patterned papers to the correct size, lined up the circle and die cut the yellow and red papers. They were then aligned, cut and stuck to the card front in the manner seen in the video.
For the back of the card front, I stuck the excess patterned paper. This means when the card is standing on display, it doesn't look boring and unfinished when viewed from the side. Finishing touches like this really elevate a handmade card.

I stamped the monkey design multiple times with Memento ink, coloured it in with Spectrum Noir alcohol markers and fussy cut the designs. I adhered three monkeys with foam pads to the front of the card, to look like they're hanging from each other and having a whale of a time! Aligning them at different angles adds interest and gives each of them their own personality. I stuck the other two monkeys flat inside the card then adhered the kraft circle.

For the envelope, I made a box envelope to protect those dimensional monkeys. I cut a patterned piece of card to 9" 3/8 square then used the 1-2-3 punch board to make a box envelope. I cut another circle from kraft card, to complement the inside of the card, then wrapped the envelope in natural string.
I really loved the look of this card; very different from the last post, and very funky! I hope the recipient has a smile on his face when he opens it. I'll be back very soon with another Father's Day themed video tutorial.
Thanks for reading all the way to the end!
Until next time,
Amy x


Comments
Post a Comment